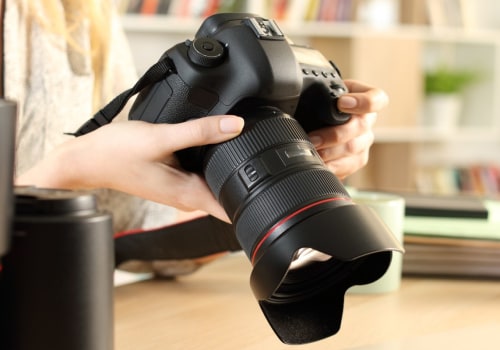
For the best camera settings for product photography, you'll want to use manual mode and control the ISO, shutter speed, aperture, and color balance. Manual mode is one of the fastest ways to improve your photography. It allows you to configure your preferred aperture, shutter speed and ISO, the three settings known as the “exposure triangle”. You can retouch the photo without losing any data and it offers you a much wider color spectrum, which is crucial for your images when they are printed. ISO stands for International Standards Organization and regulates the sensitivity of the camera's sensor to available light.
When the number is low, it's less sensitive and that means you'll need more time (that is, a slower shutter speed) to get a good exposure. If you take photos in low light or want to use a faster shutter speed, you'll have to increase the ISO, but if you do it too high, the images will have a lot of noise, which means they'll look blurry. The aperture is the opening in the camera that allows light to enter. The wider the aperture, the greater the amount of light that enters, and the narrower the aperture, the lower the amount of light allowed. It works in a similar way to the pupil of the eye.
The relationship between depth of field and aperture is that a narrower aperture (a higher f-stop number) will produce a deeper depth of field. A wider aperture (smaller f-stop number) will produce a smaller depth of field. A wide aperture (small f-stop number) and a small depth of field will mean that there is likely to be some blur in the image, usually in the background. A narrow aperture (larger f-stop number) and a deeper depth of field will capture more of the scene in focus. The aperture setting is also related to shutter speed and ISO.
If you have a higher f-stop (narrower aperture), it means that not as much light enters the camera, and you'll have to compensate for that with a slower shutter speed and a higher ISO to maintain the same brightness in the image. With product photography, it's not usually about movement, so you can use a lower shutter speed. This is useful since you typically use a narrower aperture setting (higher f-stop number), which causes less light to enter the camera. If you have less light, you'll need a slower shutter speed to get a sharp image. However, with a lower shutter speed, you'll undoubtedly want to use a tripod and also a shutter cable since even the slight vibration that occurs when you press the shutter could cause the camera to move. To ensure that whites and colors in your product photos are displayed correctly, you'll need to set up white balance.
This will help avoid color changes in white areas of photos and ensure colors in photo are true to what your eyes see. For example, with product photos taken in natural light, you can get a blue tint in white areas. There are two ways to adjust white balance. Many cameras have an “automatic” white balance setting which often works well. The camera examines scene and chooses color temperature it thinks will work best.
However, camera can be confused if scene does not contain white or close to white colors or if scene contains color or if scene is illuminated by several light sources with different color temperatures. In those cases, you'll need to adjust white balance manually. To set white balance manually, take picture of something white or medium gray with same light that illuminates product. Then tell camera to use that image to adjust white balance by selecting “Custom WB” in menu and pressing configuration button. Then when camera shows last photo taken select it by pressing “SET”.These nine camera settings for product photography will help take your product photography to next level by helping capture great product images.
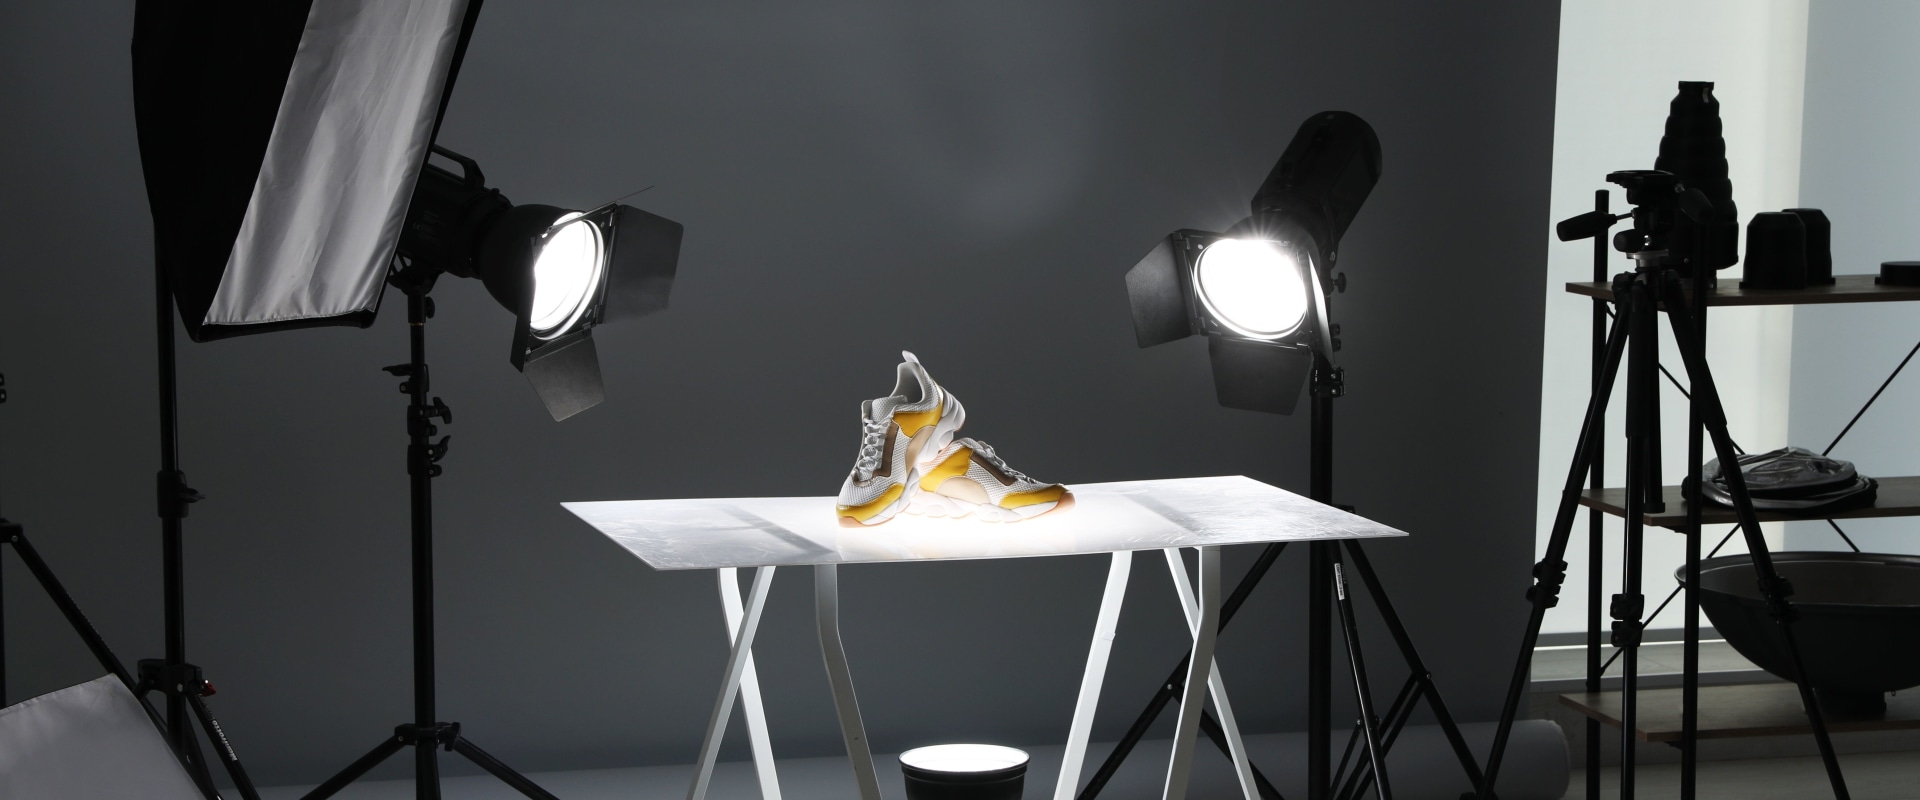
By using appropriate exposure settings (aperture, ISO and shutter speed), shooting in RAW format, using manual mode, choosing autofocus, omitting flash and magnifying will help illuminate product being photographed in great detail. Other is ensuring f-stop or aperture setting is adequate for lighting conditions. A higher f-stop number (narrower aperture) creates deeper depth of field which focuses more of scene. In addition for product photography it's recommended everything be well focused in order to accurately show product to consumer. Choose automatic white balance and your camera for product photography will configure WB according to available lighting. However it's important understand how get best product images that really accentuate product being photographed while portraying accurately. In this post we'll talk about nine best camera settings for product photography as well as equipment needed properly photograph any product.